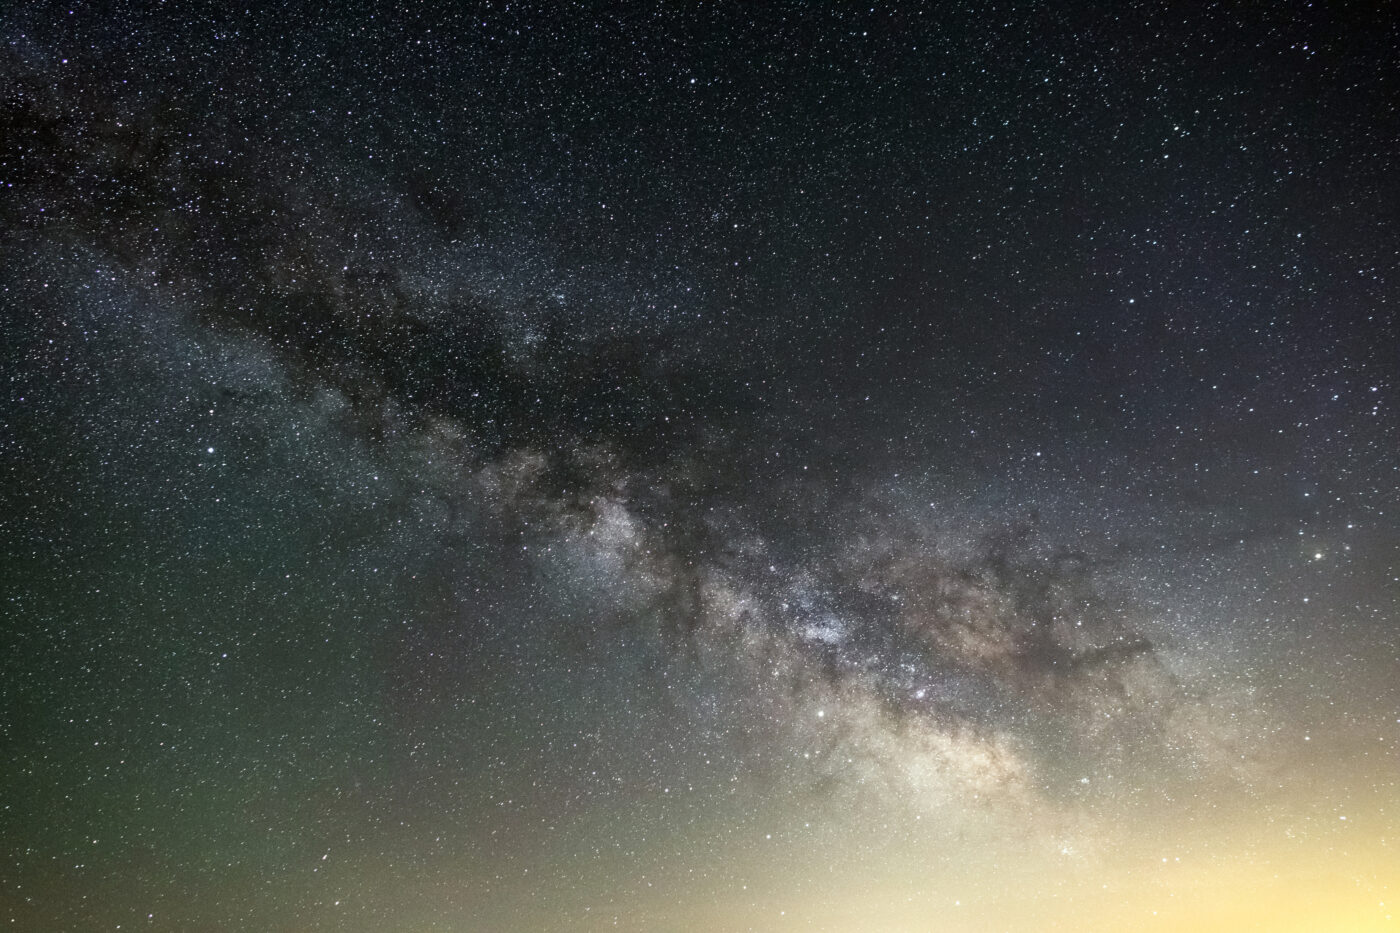
The visibility of the Milky Way depends on your geographic location, the time of year, and local light pollution levels. To capture the best Milky Way shots, you'll want to photograph it when the galactic core is above the horizon. In the Northern Hemisphere, this happens between March and October, with peak visibility from May to August. In the Southern Hemisphere, it's visible from February to October.
Planning Your Shoot
Planning is key for Milky Way photography. Here are a few factors to consider:
- Light Pollution: Find a location far from city lights. Online light pollution maps can help identify dark-sky areas.
- Moon Phase: The best time to shoot is during a new moon or when the moon has set, so its brightness doesn't wash out the Milky Way.
- Weather Conditions: Use apps like Clear Outside or Windy to check for clear skies. Even a few clouds can obstruct your shot.
- Time of Night: The Milky Way is best photographed between midnight and dawn, when it's highest in the sky.
Essential Equipment
Investing in the right equipment will greatly improve your results. Here's what you need:
- Camera: A DSLR or mirrorless camera with manual settings. Full-frame sensors perform best in low-light conditions.
- Lens: A wide-angle lens (14-24mm) with a large aperture (f/2.8 or lower) allows you to capture more light and a greater portion of the sky.
- Tripod: A sturdy tripod is a must for long-exposure photography to eliminate any camera shake.
- Remote Shutter Release: Helps reduce vibrations when triggering the shutter.
- Star Tracker (optional): A motorized tracker allows for longer exposures without star trails, producing cleaner images.
- Headlamp: A red-light headlamp is useful for navigating in the dark without affecting your night vision.
Camera Settings
Getting your settings right is crucial for capturing clear and detailed Milky Way shots. Use the following as a starting point:
- Mode: Manual Mode (M) for complete control.
- Aperture: Set to the widest available (f/2.8 or lower) to let in the most light.
- ISO: Start with ISO 3200-6400 and adjust based on your camera's noise performance.
- Shutter Speed: Use the 500 Rule (500 ÷ focal length = max exposure time in seconds) to prevent star trails.
- White Balance: Set between 3800K-4500K for natural colors.
- Focus: Switch to manual focus, zoom in on a bright star using Live View, and adjust until sharp.
Composition Techniques
- Foreground Interest: Including mountains, trees, rock formations, or buildings adds depth.
- Leading Lines: Use roads, rivers, or fences to draw the viewer's eye toward the Milky Way.
- Rule of Thirds: Position the Milky Way slightly off-center for balance.
Advanced Techniques
For the best results, consider these advanced techniques:
- Stacking for Noise Reduction: Capture multiple frames and stack them using Sequator or Starry Landscape Stacker.
- Blending Exposures: Take separate shots for the sky and foreground, then blend in Photoshop for better detail.
- Tracking: A star tracker lets you use longer exposures, revealing more detail without blur.
Post-Processing
Editing is essential to bring out the colors and contrast in your Milky Way shots. Key steps include:
- Lightroom: Adjust exposure, contrast, highlights, and shadows.
- Photoshop: Use curves, levels, and selective color adjustments.
- Noise Reduction: Apply carefully to preserve star detail.
- Dodging and Burning: Enhance certain areas for a more dynamic image.
Common Mistakes & Troubleshooting
- Blurry stars: Ensure proper focus and tripod stability.
- Too much noise: Lower ISO or use stacking.
- Dim Milky Way: Increase exposure time or adjust white balance.
Final Tips
- Scout locations during the day.
- Take test shots before committing to long exposures.
- Bring extra batteries and memory cards.
- Be patient—great shots take time and practice.
